Remember this little beauty?

Well, I've taught you how to make the purse part of it, now I guess it's time to teach you how to make the shoe.
...Unless you don't wanna know?
...Hehe, didn't think so. Let's continue.
The first thing you should know about this lovely heel is... It is NOT cake. It's purely fondant and gumpaste. So don't expect any cakey goodness here, just the sugar. Still pretty yummy as far as I'm concerned though*
And of course, first things first, I must give credit where credit is due. So thank you very much to Cake Central for this awesome template for the heels. I don't think I would have been able to make it without your help, so thank you very much (:
For the rest of you... Step One is going here** and printing out this template and cutting out all the pieces.
Waiting....
Got your template cut and ready to go?
Good.
Now pay close attention, or else you'll miss it and mess the whole thing up! You don't want that, now do you?? -_-
Roll a nice long piece of fondant*** and put the templates on top of the fondant. Now you can do the whole shoe the same color, or you can do it different colors like I did (I think it looks more realistic that way). If you're doing it my way, then you want the sole and the top to be one color and the lining to be a different color, or just a different shade of the same color.
This is the easy part, but listen close, cause if you mess up... You gotta restart, and that'll suck.
You place the cut out template on top of the fondant then come along with a tooth pick and poke holes along the edge of the paper in the fondant. You only want to poke holes in the fondant, not the actual paper. Then once you have a lot of holes all around the paper you come come along with your double sided super mini pizza cutter (the smooth side, not the ridged one) and you play connect-the-dots with the toothpick holes. Then you get rid of all that fondant that isn't a part of your 'shoe' and roll it up and put it back inside of its best friend (aka cling wrap) so it won't dry out. Then you go and fix the edges, to make sure its the same shape as the template. Once its a good shape, peel the template off and smooth the edges, getting rid of the imperfections. Do this for all 3 pieces of fondant.
I recommend doing the sole first, so once you finish it you can go ahead and put it on top of its stand and let it take that shape for a while, so when you go back to the sole it's easier to deal with. Then get the lining and put it on the sole. Ladies, you know what this is supposed to look like. Guys, you should too!

But just in case you don't, here you go. The lining is going to cover most of the sole, but you want just a little bit of the sole peeking in the back. And I know in real heels the lining goes all the way in, but this is a fondant shoe and no one is going to peek inside, so it doesn't matter that the lining doesn't cover the whole sole, the top will cover it later.
You guys all have your building support doohickey thing right? Good. Well you fold that along all the lines, then tape it together. Then you put the sole on top of it resting. Meanwhile, you grab a big chunk of fondant and mold into a heel shape. Sorry folks, but no template for this part. Wing it! Just make sure that the heel is thick enough to support the rest of the shoe and the right height. Make it as high as your doohickey, or else it won't work that well.
Now, take your sole off the doohickey and put it upside down on your table/mat/floor****/wherever you're working. Then use some handy dandy gumpaste/water glue and connect the heel to the sole. And once the heel is connected to the sole, I suggest sticking a toothpick through there to make sure that it stays sturdy. Then to hide the toothpick mark, I added a top piece***** to the heel. Then I put the shoe standing up, still using the doohickey for support as well as the heel (The heel at this point is still super soft tho, so the weight of the shoe would flatten it out without the doohickey). Next, comes the top part of the shoe. Just put some glue around the edges of it, connect it with the shoe and put some paper towel (have I mentioned that paper towels are a baker's second best friend?) under it, so when it dries it'll keep the dome shape.
Your shoe should look like this:

Top View:

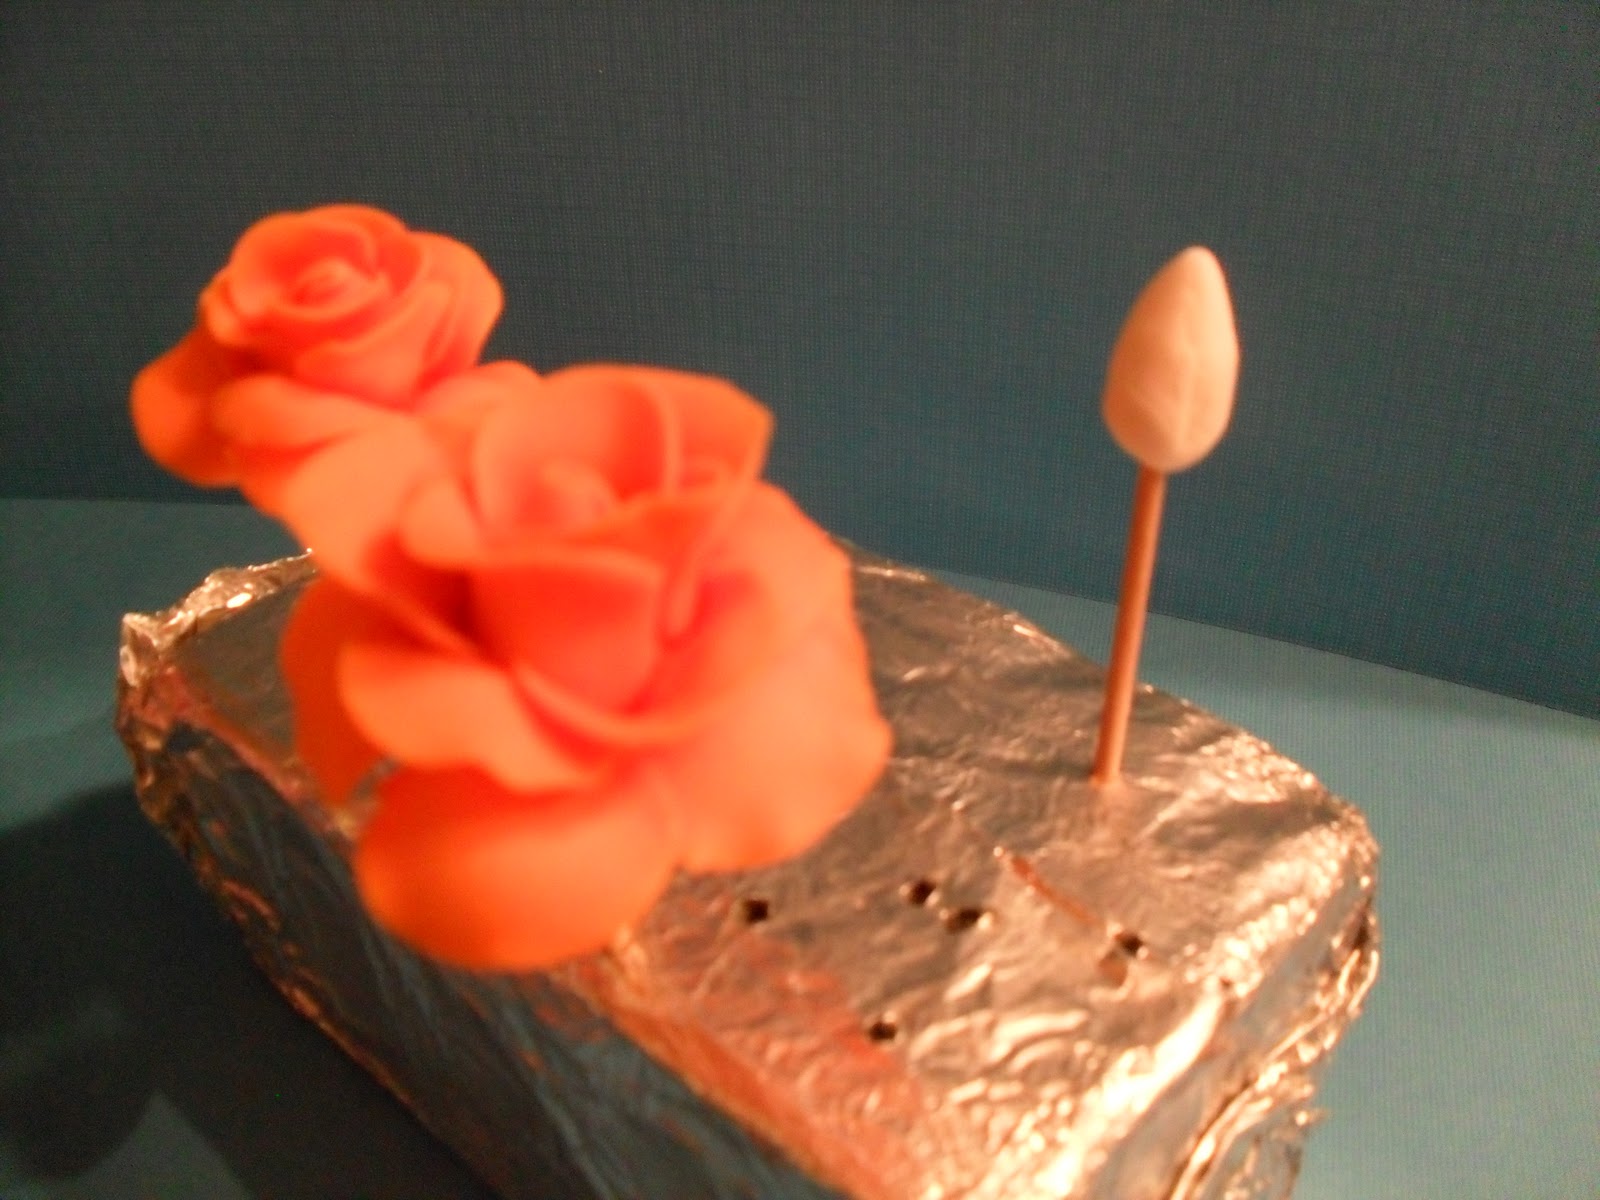
Now, just like the purse, this shoe looks a little plain to me. Soooo, naturally, I'm gonna prettify it (: I'm making the purse and the shoe a combo set, so since I put an orange rose on the purse, I'm also putting an orange rose on the shoe. Like this one!

Awww roses (: I love roses, especially when they come with presents or cards from my boyfriend (; Actually, I lie. I like them even by themselves. They're cute, adorable and have enough of an "awww" factor that I don't need a present/card with a rose (:
Hehe, I got a little side-tracked there. Back to the shoe. I suggest waiting for the shoe to dry before trying to put any kind of decoration on it. But once it's dry, knock yourselves out! (Please, don't take that in a literal sense...) I didn't want to puncture my shoe, so I just glued the rose to the top of the shoe.


Hehe, I got a little side-tracked there. Back to the shoe. I suggest waiting for the shoe to dry before trying to put any kind of decoration on it. But once it's dry, knock yourselves out! (Please, don't take that in a literal sense...) I didn't want to puncture my shoe, so I just glued the rose to the top of the shoe.

Hey look! You can see the other rose from here! Aww, they match (:
Once this little guy dries, you have yourself a purty little high heel! (If the rose slides once you glue it, put some paper towels there as support until it dries)
Here's the final product once again:

*Not so much my mom though... She hates it when I eat pure fondant. She says it's not good for me? Pssh. As if. What isn't good about pure sugar that tastes delicious???? I brush my teeth twice a day, everyday. I'm good (;
**Okay fine, I'll post the picture too. Lazy people. Smh

**Okay fine, I'll post the picture too. Lazy people. Smh

***Say it with me now: With gumpaste!
****I'm TOTALLY kidding about the floor. Unless you're throwing the shoe away right after making it, then it's all right. But PLEASE don't feed anyone floor-rolled shoes. That would be yucky.
*****I had to google what that piece is called
****I'm TOTALLY kidding about the floor. Unless you're throwing the shoe away right after making it, then it's all right. But PLEASE don't feed anyone floor-rolled shoes. That would be yucky.
*****I had to google what that piece is called